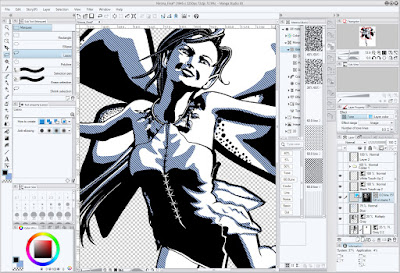
This is probably going to be the shortest post in this entire series because, after all, it's just a variation on what we covered last time. Now, instead of adding a shading tone, we're going to add a color wash. That is to say, we're going to replace the Gray layer with blue. I call it a "wash" because I usually use a pale shade of blue.
As before, follow the Step-by-Step instructions, which are almost identical to what they were last time. To save time and space, I am not including all of the screenshots – please refer to the last post if you need more detail.
Step-by-Step
- Select the "Gray Layer" from the Layers Panel.
- From the Selection menu, choose the "Select Color Gamut..." option.
- The Select Color Gamut dialogue box will open. The cursor will also change to an eyedropper. Pick a color on the screen that you want (in this case, black or gray). You can use the settings in the control to choose only from the active ("Gray") layer, or all visible layers. You can also add or subtract from your selection.
- Create a new layer.
- Select a color from the color picker (I like to use pale blue).
- Fill the selected area with blue (CTRL+Del) or use the Edit > Fill menu.
|
 |
3. Don't be afraid to play around with the settings
in the Select Color Gamut dialogue box. |
 |
| 5. Select the color, then fill the area (CTRL+Del) |
And that's pretty much it. You can add any color (or multiple colors) to your image to give it an extra dimension. You can even combine effects to add color and a shading tone.
 |
Combine layers for added effects.
Click to enlarge and see blue, gray and tone combined. |
I'm not going to claim that there are limitless effects, but by combining the color, gray and tone layers, I think you can see that you have a lot of options available to you.
NEXT TIME: Saving Your Final Image


No comments:
Post a Comment